
SSH into a pi
Boot the pi
I'm unsure about whether or not this is supposed to happen, but it seems as though anything that isn't connected at the time that I boot is just not going to be recognized, so it's important to have everything that you need plugged in before you boot. That includes
- The SD card from which you want the Pi to boot. Since I checked mine out from the library, I had an SD card that had already been created for me. You may need to go and create a NOOBs SD card for your pi to boot from.
- A display. My VGA adapter didn't work, but I think it's because I needed a powered adapter to fit to my TV before plugging it in. Apparently the Pi doesn't have enough power on its own to power a connection to your standard VGA monitor. The RCA worked though.
- A USB mouse and keyboard.
At this stage you should be able to power it up by plugging in the power chord. The first time I booted, I was met with a config screen. I don't recall changing anything at first, though I did go back and change "boot to desktop" to "yes" at one point just to see what it looked like. That's not necessary for what we're trying to do, though. You may want to check and make sure that SSH is already enabled.
I'm not sure if I had to reboot when I was done with the config screen or if it did so on its own, but you have to log in. The default username for the pi is pi and the default password is raspberry.
At this stage, if you want to play around with the pi and see some games on your native monitor, you should go for it. I ran into some weird problems with the display when I had the pi connected to both a monitor and my laptop. It seemed that the pi isn't sure which monitor it should be sending a signal to without you defining it, which can be done but is more complicated than it needs to be for our purposes right now.
After you're done exploring the pi, power down with a
sudo halt
command, and plug in an ethernet chord to connect your pi to your laptop. Power back up.
Share your ethernet connection
After plugging in the ethernet chord and powering back up, you should see something pop up on your laptop that says "Wired connection established". Click the networking icon on your top bar. It looks like this:

Click "Edit connections" at the bottom of the dropdown list, and you should see the name of whatever your new wired connection is called. Mine is just called "Wired Connection 1," which seems to be the default. Select and edit that connection. Go to IPv4 settings and change the "Method" to "Shared with other computers". Save. You're now sharing an ethernet connection with your pi!
Find the IP address for your pi
Using the pi keyboard and display, enter the following command:
ifconfig
Look for the "inet address" under eth0. Well, it's under eth0 on my computer, but it could be called something different on yours. Just look for whichever one that doesn't start with "127" because I'm pretty sure that's always the IP address of your local host. Take note of this IP address because you're going to need it to SSH into your pi.
SSH into the pi
If you want, you could power down and unplug the display, keyboard, and mouse from the pi and power back up with just the ethernet connection. It might prevent the pi from being confused about which display to use when you open things up. It's not super important though, from what I can remember. Whatever you decide to do, make sure the pi is powered on before you try to SSH into it.
Open up a terminal on your laptop and SSH into the pi using the following command:
ssh -p 22 pi@yourPiIPAddress -X
I added the -X because apparently that gives your pi access to your laptop display. I'm not sure if that's necessary when your laptop display is the only display the pi is connected to. I don't think it hurts to add it in though.
It will prompt you for pi's password. Enter that, and you'll be in :).
Results
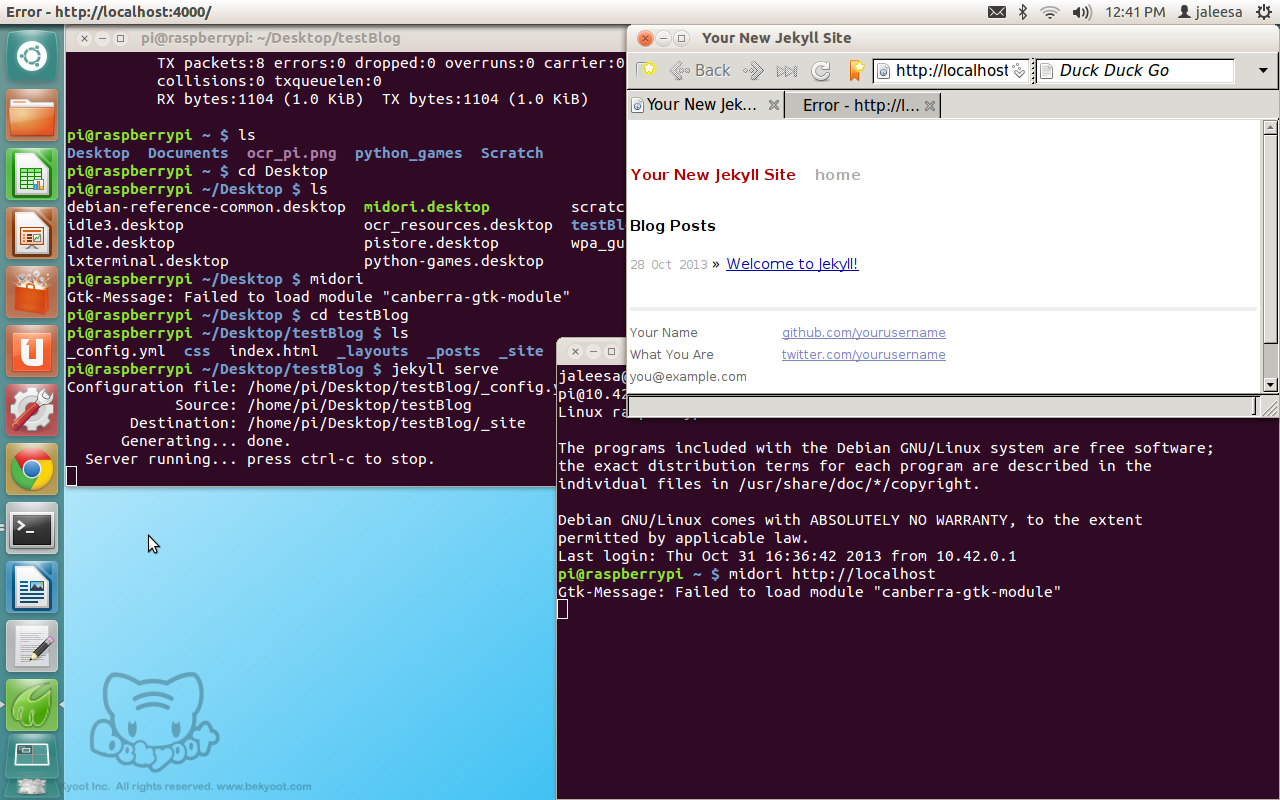
I was curious about whether or not the pi could serve a jekyll page, so I installed ruby and jekyll and served a page. It works just fine, though the installation was painfully slow. I also had to use sudo a time or two more than I remember having to do it on my own computer, but that could just have something to do with the fact that it was the library's pi and not my own.
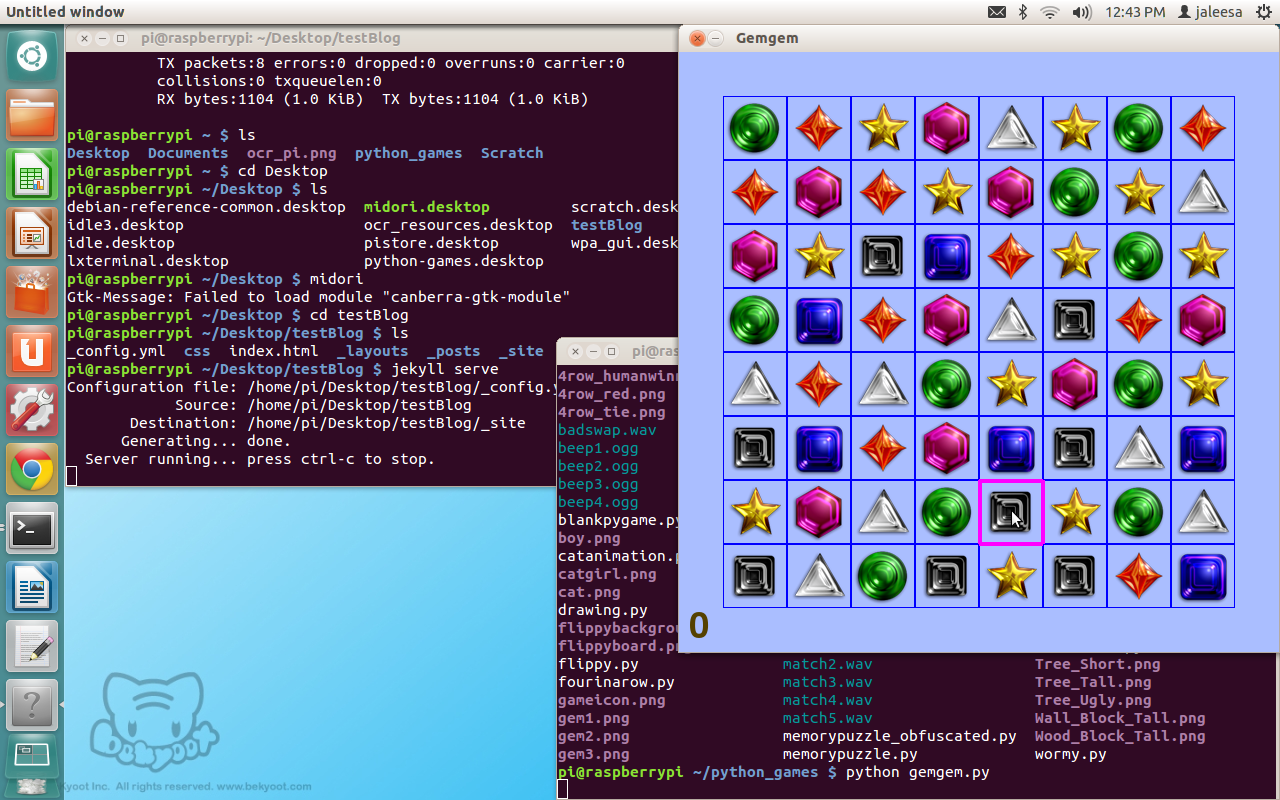
I also wanted to see what the games would be like. Also painfully slow, but it works!
Play around. Explore. You've now become one with your pi :).
Note - There may be some things in this walkthrough that aren't precisely correct. I had to go off of memory sometimes since I had to return the pi before I got a chance to do this write up, so I'm definitely open to any corrections! I did just receive my own pi in the mail, but I haven't set up the NOOBs thing yet. It'll be fun! I'm very excited.