
Create a Jekyll Github Blog
With just a few words, you can have an entire blog up and running on your local machine!
<!-- Step One -->
jekyll new yourSite

<!-- Step Two -->
cd yourSite

<!-- Step Three -->
jekyll serve
There you go. You're done :).
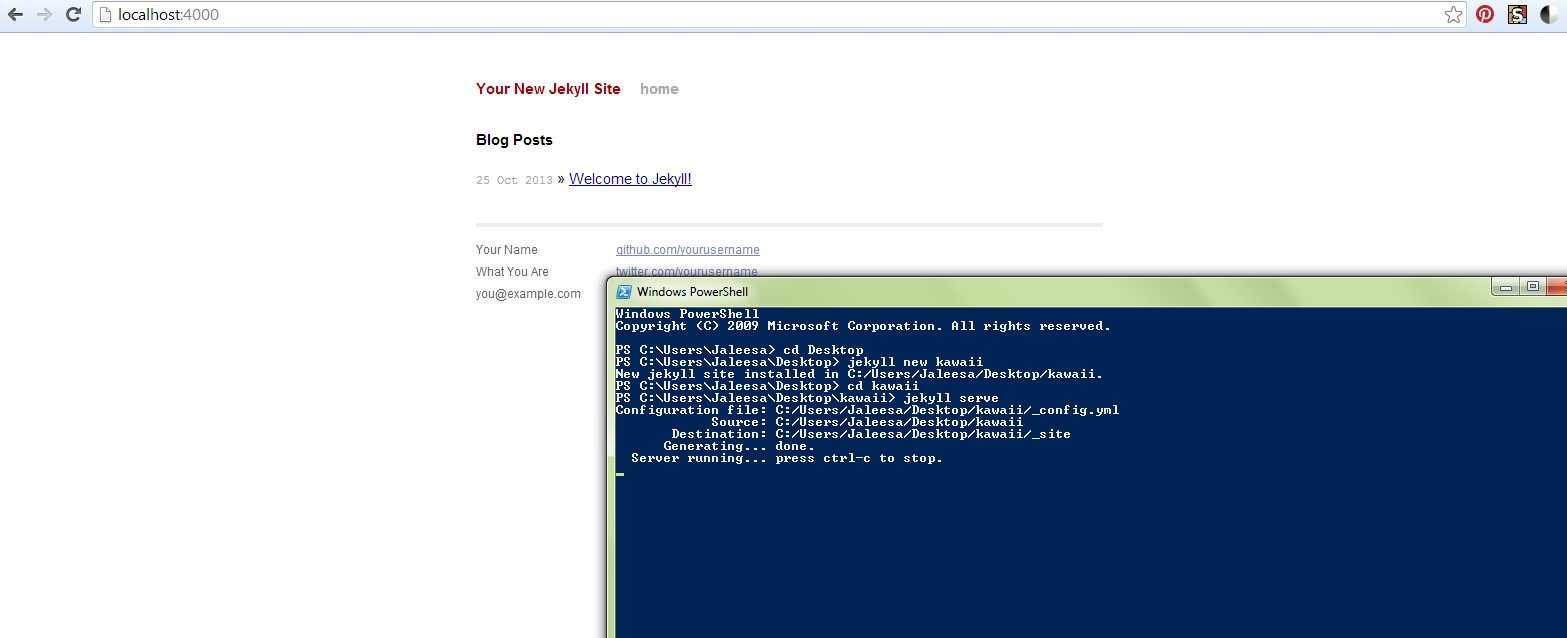
See? You have your blog up and running already. Isn't than easy?
Of course you'll likely want to do a bit more than this. Just think about all of the different things you can do with something this quick and easy if you put a little more time into it.
Jekyll blogs have three main components when it comes to changing the way things look:
- Logic loops on the index
- Default layouts
- CSS
See the "Welcome to Jekyll" post on your new Jekyll site? You don't have to add a new item to your list every time you make a new post. The 'index.html' in your root directory (the directory you went to in step two when making your new site) has programming logic in there that gives Jekyll instructions on what to put on your home page. Right now, it looks like this:
<ul>
{\% for post in site.posts \%}
<li><span>{\{ post.date | date_to_string }\}</span> » <a href="{\{ post.url }\}">{\{ post.title
}\}</a></li>
{\% endfor %\}
</ul>
But, you could change it so that each item in the list has an image, or you could limit the number of items that show up at a time - like so.
<ul class="posts">
{\% for post in site.posts limit:3 %\}
<li><span>{\{ post.date | date_to_string }\}</span> » <a href="{\{ post.url }\}">{\{ post.title
}\}</a><p><img src="{\{ post.banner }\}"</p></li>
{\% endfor %\}
/>
</ul>

This sort of brings me to the role default layouts play in this situation, since you'd put that banner data in the same header area. See where the layout is specified?
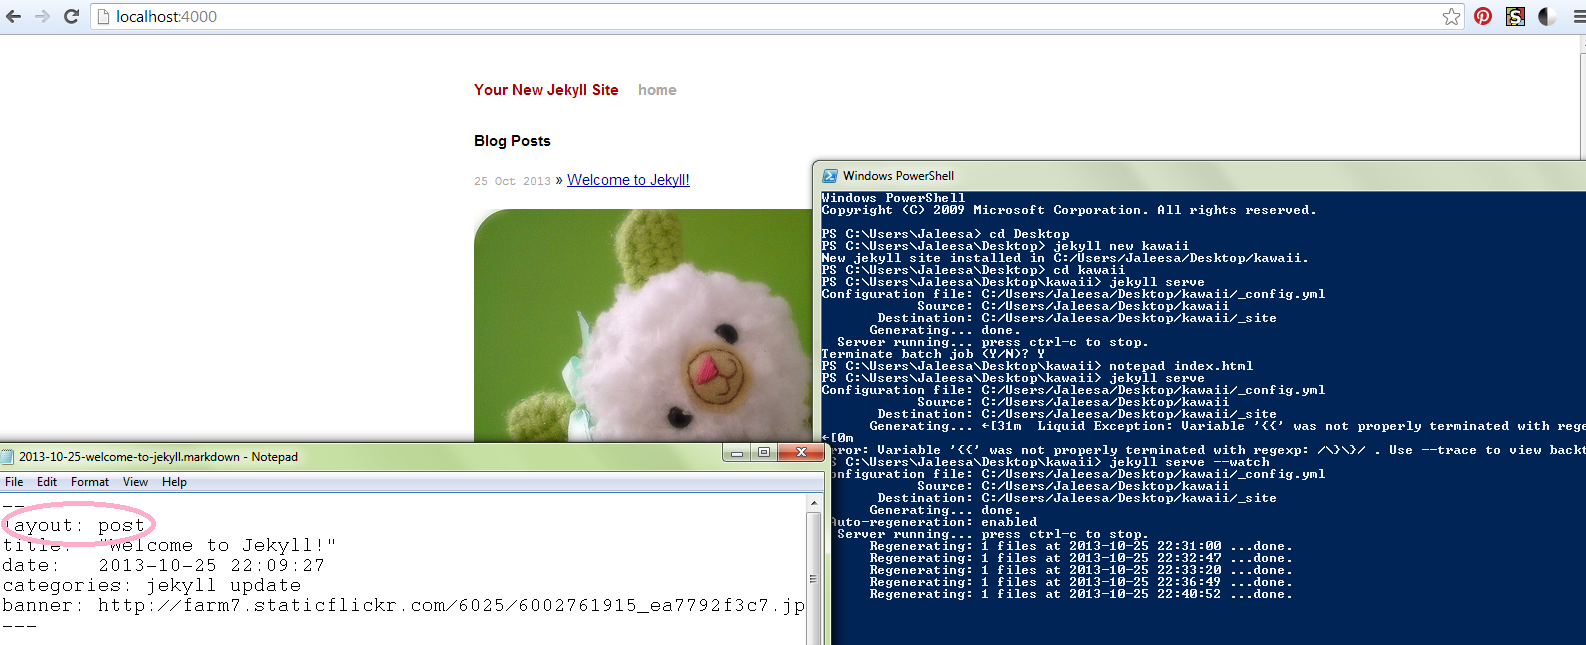
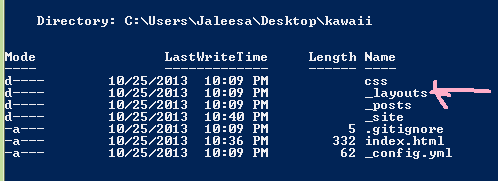
The layouts specified here actually live in the _layouts directory.
Any changes you make to the "post" layout will show up on every single post you make, as long as you specify this layout in the header as illustrated above. Any changes you make to the "default" layout will show up on any page on the entire site, unless you create a page that specifies a different base layout. How does this work? Well, even the layouts can specify layout types!
This is what the header of the "post" layout looks like right now:
---

layout: default

---
You could completely remove this to get a post layout that looks very different than the default.
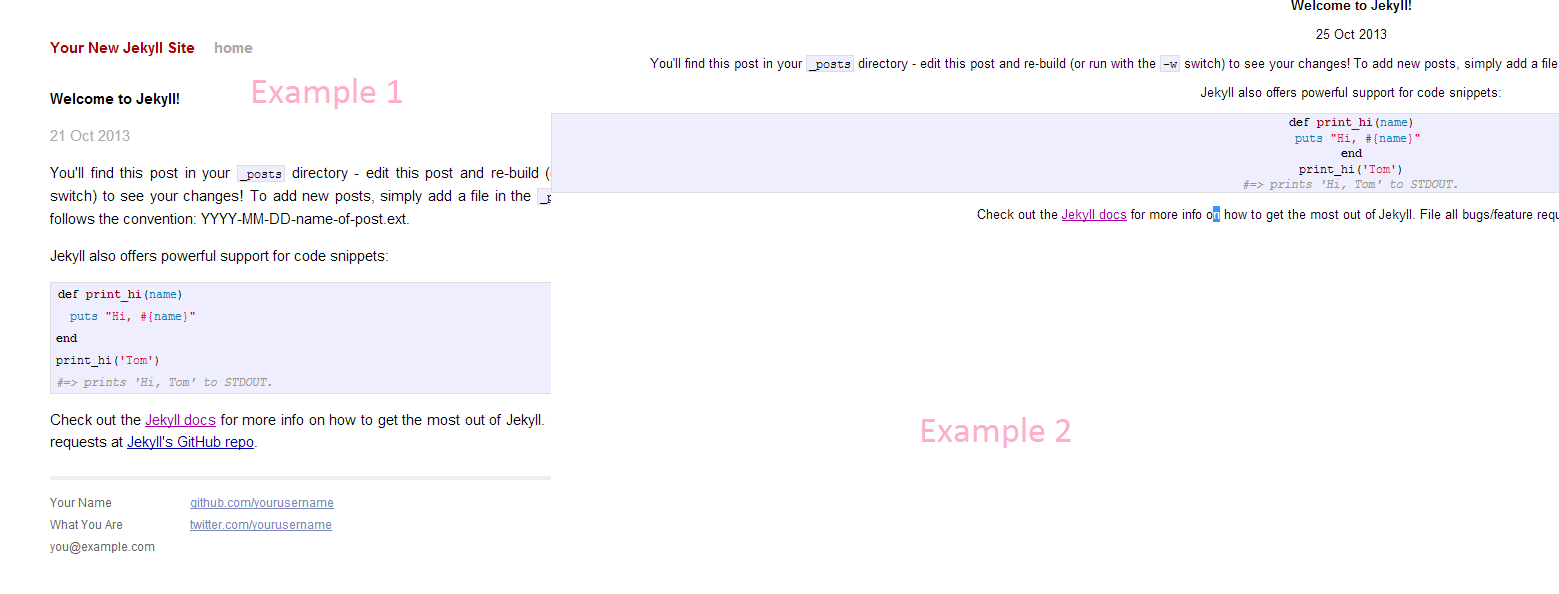
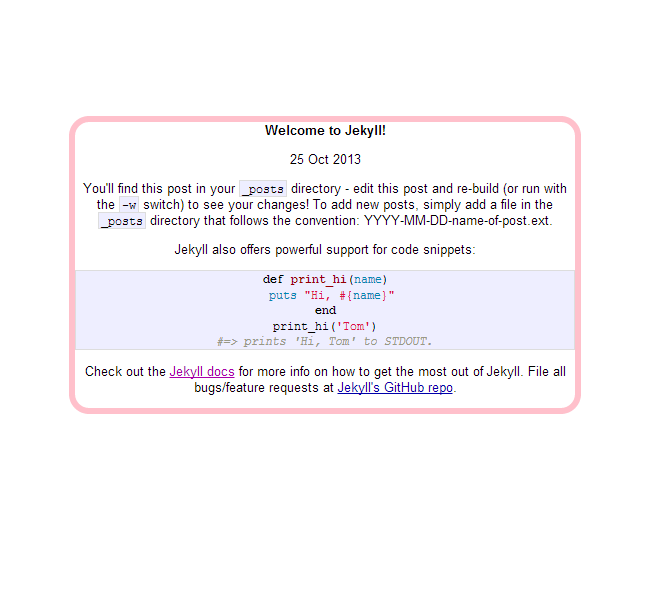
The first example is what the post layout looked like before removing the "default" layout specification in the header, and the second example is what this layout looks like with a completely blank layout specification. It looks different, but you need to do something to make this look just a little bit better than what we've got.
That's where CSS comes in! Any new elements that you've added to change the appearance of individual posts (which in this case would be a new "div" with a class "uniquePost") can be styled in the same CSS sheet as the other pages if you just remember to copy and paste the DOCTYPE declaration and head elements over to your new "post" layout. I'm going to add these changes to my CSS:
.uniquePost {
margin-left: auto;
margin-right: auto;
width: 500px;
border: 6px solid pink;
border-radius: 20px; margin-top: 9em;
}
And now this is what the posts look like:
Now that you have all of the elements figured out to change the look of your Jekyll site, you might want to host it so that others can access your site on the web. This is where Github comes in. For this particular project, Github will be my host.
Go back to your root directory and initialize a git repository like so:
cd yourSite
git init
<!-- If you want, it could be a good idea to add an origin so that you don't have to type the URL you'll push to over and over again. You can do this with the following command. -->
git remote add origin http://github.com/yourUserName/yourSite.git
Then you need to push to your origin at the gh-pages branch in order to make your site show up on the web. Before pushing your site, you might want to go back and change your "_config.yml" to reflect the fact that your site has a new baseurl. Your baseurl will be "/yourSite". Be sure to add "/fall2013" to update links in your default layouts in places where you see things like "/css..." or "", otherwise you'll end up with a lot of broken links!
git add . <!-- which is another way of saying add everything in your root directory to the git stage -->
git commit -m "Whatever message you want to describe your changes to the repository"
git push origin gh-pages
And you're all done :)!
View the example blog live here.